Drawer with Toolbar
這篇文章的內容將會由 使用 Android Navigation Drawer 製作側選單(1)、(2)中的範例來做修改。部份內容和 如何將 Android ActionBar 轉換到 Toolbar 相同,所以直接取用相同的程式碼。轉換過程的大部份流程都相同,除了要把 Toolbar 放在 layout 中需要做些調整,其實轉換工作都差不多。加入 support-v7
可以直接複製 "android-sdk\extras\android\compatibility\v7\appcompat\libs" 中的 android-support-v7-appcompat.jar 到專案的 libs 資料夾,或在專案的 properties 中以 library 的方式加入都可以。調整 build target 到 5.x
專案按 右鍵 -> properties -> Android -> Project Build Target 選擇 5.1.1 (API Level 22)。修改 AndroidManifest.xml 的 targetSdkVersion 改為 22。
加入 theme
從 如何將 Android ActionBar 轉換到 Toolbar 這篇文章中,複製 3 個資源檔過來:- theme_material.xml
- colors_material.xml
- colors_default.xml
加入 toolbar
一樣從 如何將 Android ActionBar 轉換到 Toolbar 這篇文章中複製 toolbar.xml 到 layout 目錄中,修改原本的 drawer.xml<?xml version="1.0" encoding="utf-8"?>
<LinearLayout
xmlns:android="http://schemas.android.com/apk/res/android"
android:layout_width="match_parent"
android:layout_height="match_parent"
android:orientation="vertical">
<!--Toolbar-->
<include layout="@layout/toolbar" />
<android.support.v4.widget.DrawerLayout
xmlns:android="http://schemas.android.com/apk/res/android"
android:id="@+id/drawer_layout"
android:layout_width="match_parent"
android:layout_height="match_parent">
<!-- The main content view -->
<FrameLayout
android:id="@+id/content_frame"
android:layout_width="match_parent"
android:layout_height="match_parent" />
<!-- The navigation drawer -->
<ListView android:id="@+id/left_drawer"
android:layout_width="240dp"
android:layout_height="match_parent"
android:layout_gravity="start"
android:choiceMode="singleChoice"
android:divider="@android:color/transparent"
android:dividerHeight="0dp"
android:background="#111"/>
</android.support.v4.widget.DrawerLayout>
</LinearLayout>
修改 MainActivity
首先要把原本繼承 Activity 改為繼承 ActionBarActivity,接著把 import android.support.v4.app.ActionBarDrawerToggle; 其中的 4 改成 7,還有 ActionBarDrawerToggle 也改為用 v7,並且修正為:drawerToggle = new ActionBarDrawerToggle(this, layDrawer, R.string.drawer_open, R.string.drawer_close);
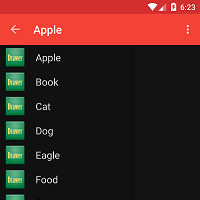
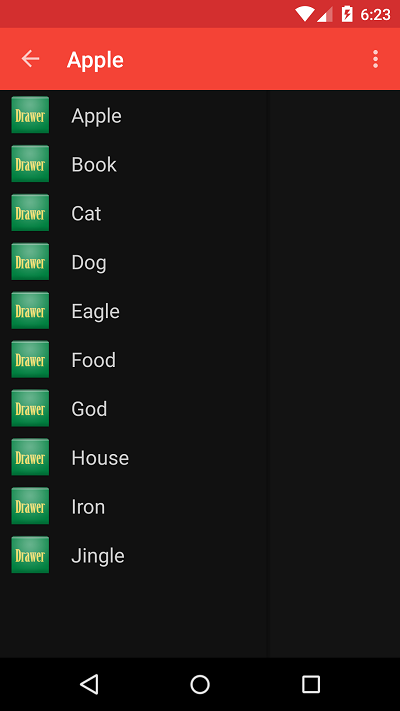
結果:
 範例程式碼,已經更新後 push 到 github - NavigationDrawerDemo
本文網址:http://blog.tonycube.com/2015/06/android-navigation-drawer-toolbar.html
由 Tony Blog 撰寫,請勿全文複製,轉載時請註明出處及連結,謝謝 😀
由 Tony Blog 撰寫,請勿全文複製,轉載時請註明出處及連結,謝謝 😀
我要留言
留言小提醒:
1.回覆時間通常在晚上,如果太忙可能要等幾天。
2.請先瀏覽一下其他人的留言,也許有人問過同樣的問題。
3.程式碼請先將它編碼後再貼上。(線上編碼:http://bit.ly/1DL6yog)
4.文字請加上標點符號及斷行,難以閱讀者恕難回覆。
5.感謝您的留言,您的問題也可能幫助到其他有相同問題的人。